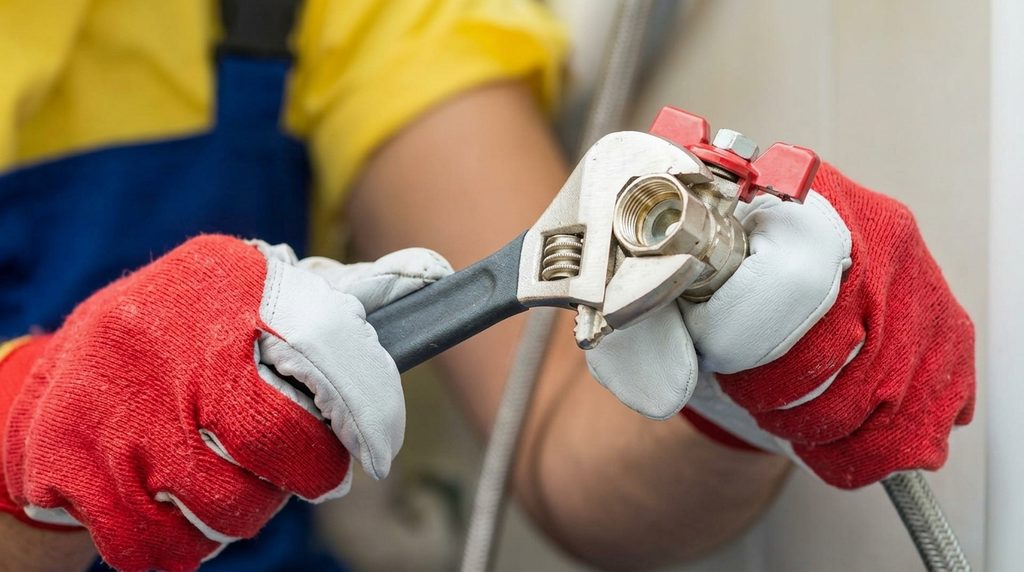

A leaking pipe under the kitchen sink is one of the most common—and most frustrating—household plumbing problems. Left unchecked, even a small drip can warp your cabinets, encourage mold growth, and send your water bill climbing. The good news is that most kitchen pipe leaks can be repaired without calling a plumber, as long as you know where to look and how to fix the problem properly. This guide walks you through the best methods to repair a kitchen pipe leak, from quick temporary fixes to permanent solutions.
Identify the Source of the Leak First
Before you can fix a leak, you need to find exactly where it’s coming from. Water travels, so the puddle you see may not be directly below the actual problem.
Clear out everything under your sink and dry the area completely with a towel. Then run the water and watch closely. Check the supply lines, the P-trap (the curved pipe below the drain), the slip-nut connections, and the point where the drain meets the sink basket. A flashlight and a paper towel help—wipe suspected areas and see where moisture reappears first.
Common sources of kitchen leaks include loose slip-nut connections, a worn-out washer or gasket, a corroded P-trap, and damaged supply lines feeding the faucet.
Gather the Right Tools and Materials
Having the right supplies ready makes the repair go smoothly. For most kitchen pipe leaks, you’ll want:
An adjustable wrench and channel-lock pliers, plumber’s tape (Teflon tape), a replacement washer or gasket kit, plumber’s putty, a bucket and towels, and possibly a new P-trap or supply line if the existing one is corroded. Keeping these on hand means you won’t have to stop mid-repair for a hardware store run.
Turn Off the Water Supply
This step is non-negotiable. Locate the shut-off valves under the sink and turn them clockwise until they stop. If your sink doesn’t have individual valves, shut off the main water supply to the house. Open the faucet to release any remaining pressure and drain the lines before you begin.
The Best Methods to Repair a Kitchen Pipe Leak
Tighten Loose Connections
Often, the fix is as simple as tightening a loose slip nut. Using your hand or an adjustable wrench, gently snug up the connections at the P-trap and supply lines. Be careful not to over-tighten, especially on plastic fittings, which can crack under too much pressure. Run the water afterward to check if the leak has stopped.
Replace Worn Washers and Gaskets
If tightening doesn’t work, the rubber washers or gaskets inside the connections are probably worn out. Disassemble the joint, remove the old washer, and replace it with a new one of the same size. This small, inexpensive part is responsible for a surprising number of leaks.
Apply Plumber’s Tape to Threaded Joints
For threaded metal connections, wrap the threads with plumber’s tape before reassembling. Wind it clockwise two or three times to create a watertight seal. This is one of the most reliable ways to stop slow leaks at pipe joints.
Replace a Damaged P-Trap or Supply Line
If a pipe is cracked, corroded, or badly worn, no amount of tightening will help—it needs to be replaced. P-traps and flexible supply lines are inexpensive and available at any hardware store. Simply unscrew the old one, take it with you to match the size, and install the replacement with fresh washers.
Temporary Fixes for Emergencies
Sometimes you need to stop a leak immediately and can’t do a full repair right away. For a temporary fix, you can wrap the leak tightly with waterproof plumber’s tape or self-fusing silicone tape, or apply epoxy putty around a small crack. Pipe repair clamps also work well for a pinhole leak on a straight section of pipe. Remember that these are stopgaps—plan to do a proper repair as soon as possible.
Test Your Repair
Once your repair is complete, turn the water supply back on slowly and watch the connections carefully. Run the water for a few minutes, then check again with a dry paper towel. If everything stays dry, you’ve successfully stopped the leak. Keep an eye on the area over the next day or two to make sure the fix holds.
When to Call a Professional
While most kitchen pipe leaks are DIY-friendly, some situations call for an expert. If you notice water damage inside the walls, persistent leaks after multiple repair attempts, corroded pipes throughout the system, or any sign of a slab or main line leak, it’s time to bring in a licensed plumber.
Final Thoughts
Repairing a kitchen pipe leak doesn’t have to be intimidating. By locating the source, using the right tools, and following these proven methods, you can stop most leaks quickly and prevent expensive water damage. Whether it’s a loose connection, a worn washer, or a corroded pipe, there’s a straightforward solution—and now you have the knowledge to handle it with confidence.